Manually Setup Project
This guide will show you how to manually create a Velaptor application.
There are plans in the future to create a project template for
and users to easily create a basic Velaptor application.First things first. You have to create a project with your preferred IDE!!
Step 1: Create the application
Create a new C# console application using dotnet version specified in the EmptyProject.csproj, look for the <TargetFramework></TargetFramework> XML tag.
Step 2: Add Velaptor to the project
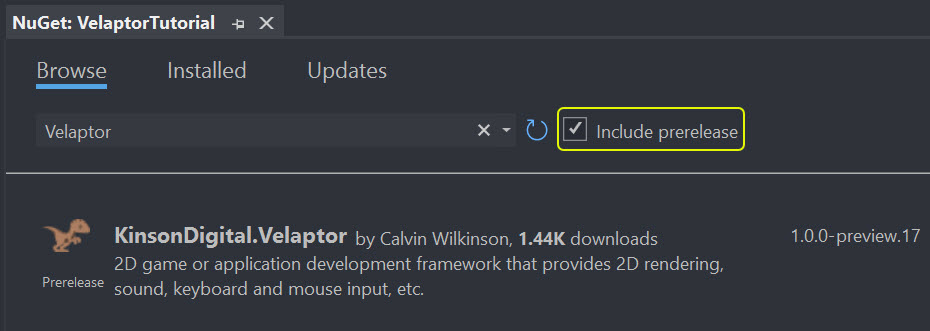
Add the Velaptor
to the project.- Make sure to click the preview check box in your IDE of choice. Since Velaptor is currently in preview, clicking the checkbox will allow you to see the NuGet package.
- Visual Studio
- JetBrains Rider


Step 3: Create main classes
The game class is the class used to contain all of the game loop/lifecycle methods. These are the update and render methods, the load and unload content methods and more.
3.1: Create game class
Create a new class file named Game. This will be necessary to take advantage of the game-related methods of Velaptor. These methods
are used for things such as loading and unloading content, updating your game objects, and rendering graphics to the screen.
namespace HelloVelaptor;

public class Game : Window
{
}
Top-level statements are a newer feature added in C#10 that enables you to avoid the extra ceremony of creating the main entry point method
in a class.
Click
3.2: Create app entry point
All applications need some kind of entry point. This is the starting point of your application. In the case of Velaptor as well as
all C# applications, the entry point is the main method in the Program class. Let's take advantage of the latest C#
features and use top-level statements. Create a new Program.cs file and add the following code:
var game = new EmptyProject.Game();
game.Show();
Step 4: Creating game methods
When developing games, you need to take advantage of various methods that are hooked into various parts of the game lifecycle. These lifecycle events are things such as content loading, content unloading, updating, drawing, etc.
Here is a diagram that shows the lifecycle of a Velaptor game.
4.1: Create OnLoad() method
Once the game class file has been created, we need a way to load content. We can load sounds, textures, fonts, atlas textures and atlas data, or any kind of content your game needs. This method will be invoked once time as the application loads up.
Create a method override of the Window.Load() method in the Game class as shown below:
protected override void OnLoad()
{
    base.OnLoad();
}
4.2: Create OnUpdate() method
The next method to create is the OnUpdate() method. This method will be invoked once every frame and always before the OnDraw() method is
invoked. This is where you should add your game logic and update your game state. The point of
this method is to add behavior to your game. Think of it as the brains of your game.
protected override void OnUpdate(FrameTime frameTime)
{
    base.OnUpdate(frameTime);
}
4.3: Create OnDraw() method
Now that we have a way to update our game state, we need to create a method to render our game to the screen. Create a method override of the Window.OnDraw() method.
The OnDraw() method is invoked once every frame and always after the OnUpdate() method is invoked.
The point of this method is only for rendering your game to the screen.
protected override void OnDraw(FrameTime frameTime)
{
    base.OnDraw(frameTime);
}
4.4: Create OnResize() method
If you want your game to react when the window size changes, you can create an override method using the Window.OnResize() method.
The OnResize() method is invoked anytime the window's size is changed, including minimizing, maximizing, and restoring it.
This is a great location to run game logic that can do anything your game needs. One good example is to pause your game automatically
when minimized and to unpause when the window is maximized or restored.
protected override void OnResize(SizeU size)
{
    base.OnResize(size);
}
4.5: Create OnUnload() method
We need a way to unload our content. This can be performed by creating a method override of the Window.OnUnload() method.
The OnUnload() method is invoked one time when the window is closed. This is to free resources and content from your game on
the CPU side as well as loaded textures from the GPU. This is also where scene management unloading can be performed.
protected override void OnUnload()
{
    base.OnUnload();
}
Step 5: Run it
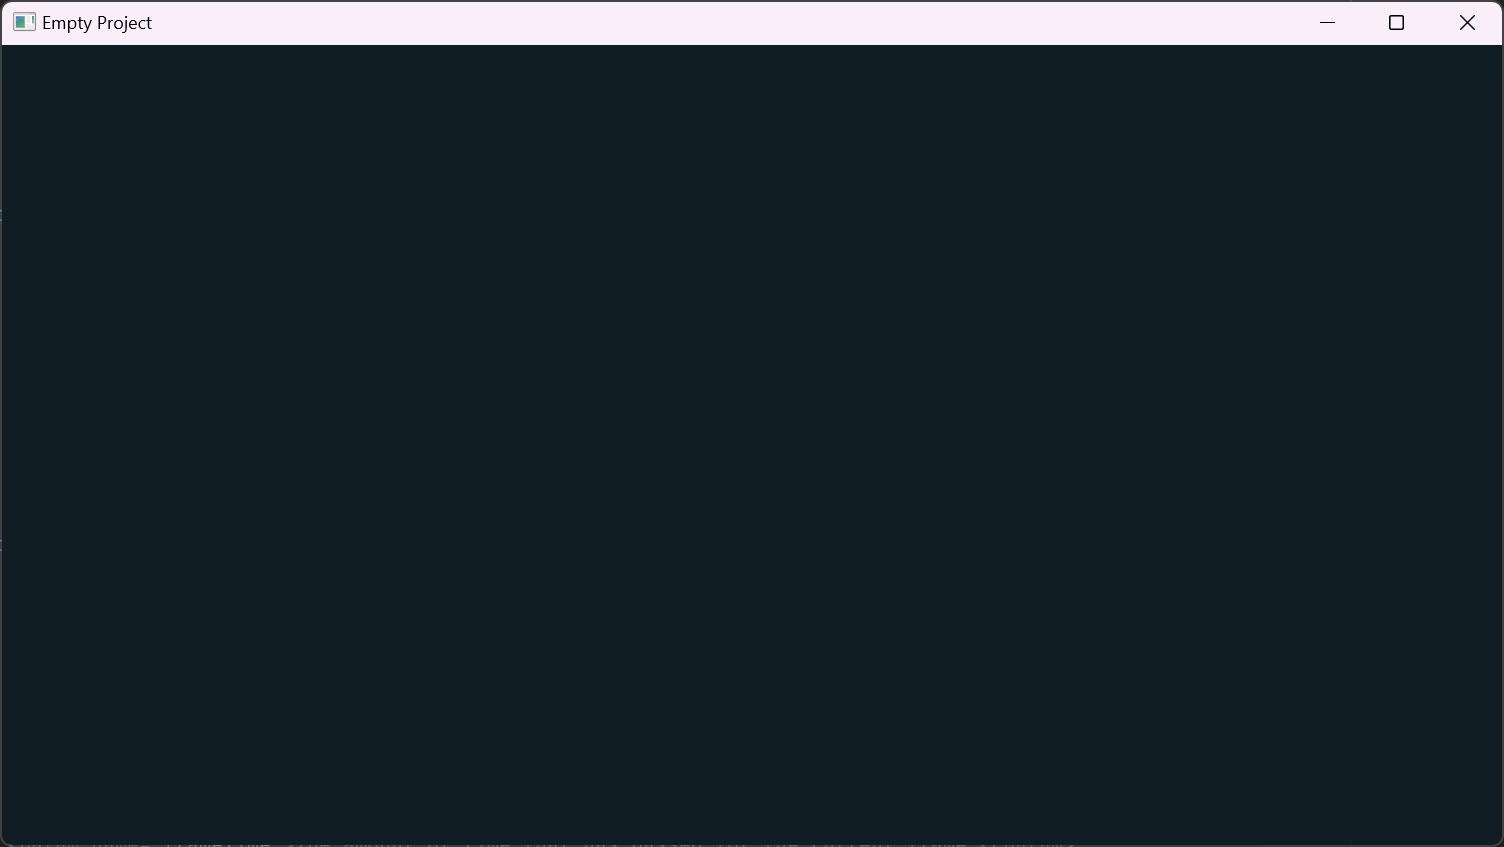
Run the application!!

I know it isn't much, but we will get there. 💪🏻