Rendering Textures
A game cannot be a game without having the ability to render textures. This guide will show you how to render whole textures to the screen.
Go to the
guide project to see the source code for a fully working example of this guide.Step 1: Project setup
Create a basic Velaptor application.
For more info, refer to the Project Setup guide.
Step 2: Rendering a texture
2.1: Create class fields
Create the class fields shown below. These will be used to render the Velaptor mascot texture to the screen.
public class Game : Window
{
    private readonly IBatcher batcher; // Used to control batching
    private readonly ITextureRenderer textureRenderer; // Renders textures
    private ILoader<ITexture>? textureLoader; // Used to load textures
    private ITexture? mascotTexture; // The texture to render
    ...
}
2.2: Setup window
Add code to the constructor to setup the window to have a title as well as a smaller size.
public Game()
{
    Title = "Render Textures"; // Set the title of the window
    Width = 800; // Set the width of the window
    Height = 800; // Set the height of the window
}
2.3: Create loader, batcher, & renderer
In the constructor, create the textureLoader, batcher, and textureRenderer objects.
This is done by using various factories that make it easy to create these often used types.
public Game()
{
    ...
    this.textureLoader = ContentLoaderFactory.CreateFontLoader();
    this.batcher = RendererFactory.CreateBatcher();
    this.textureRenderer = RendererFactory.CreateTextureRenderer();
}
Step 3: Load and unload the content
Loading and unloading content is a very important part of game development. It is also important to unload the content when it is not needed or used anymore. In the next couple of steps, we will setup the loading and unloading of the texture.
3.1: Get the content
Download or create any .png file you want.
Click the image below to download the file.

3.2: Add the content
Add the image to the project and set it as content by following the steps in the Adding Content tutorial.
3.3: Load the texture content
Now that our content has been successfully added to the project, we can now move on to loading the texture and rendering it.
We can load the texture by using the textureLoader. There are various loaders available in Velaptor
that can be used to load different kinds of content.
To do this, override the OnLoad() method and add the following code to load the texture.
protected override void OnLoad()
{
    this.mascotTexture = this.textureLoader.Load("velaptor-mascot");

    base.OnLoad();
}
3.4: Unload the texture content
Now we can unload the content when the game shuts down. This is to clean up resources that are no longer needed.
To do this, we can override the OnUnload() method. We can then call the Unload() method on the texture loader
and send in the texture object we loaded earlier. To do this, we need to add the Velaptor.ExtensionMethods namespace
to the top of the file to get access to the Unload() extension method.
Add the following using statement.
...
using Velaptor.ExtensionMethods; // Add this line here
...
public class Game : Window
{
    ...
}
Now we can override the OnUnload() method and unload the font.
protected override void OnUnload()
{
    this.textureLoader.Unload(this.mascotTexture);
    base.OnUnload();
}
Step 4: Render the texture
Finally, we can now render our image. Create the the OnDraw() method with the following code to render the texture.
protected override void OnDraw(FrameTime frameTime)
{
    IBatcher.Begin();

    var x = (int)(Width / 2); // Center of the window horizontally
    var y = (int)(Height / 2); // Center of the window vertically

    // Render the mascot image in the center of the window
    this.textureRenderer.Render(this.mascotTexture, x, y);

    IBatcher.End();

    base.OnDraw(frameTime);
}
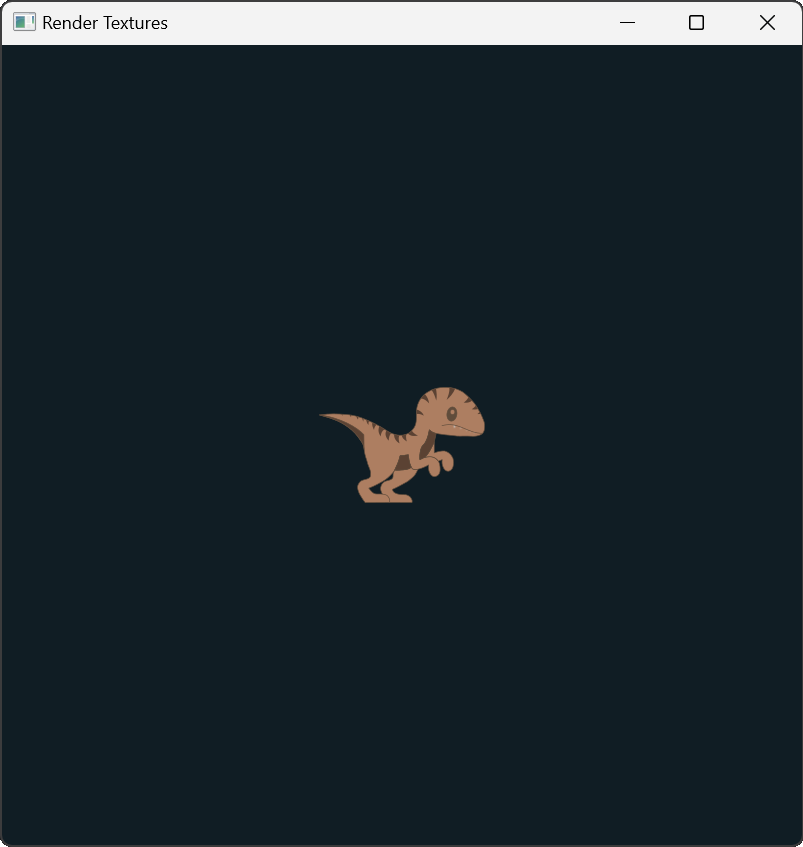
Step 5: Run it
Run the application. You should see the result below!!